Lets Make Tech

Florida Tech Neural Engineering 2 Class Quick Links

Disclaimer: Much of this content was made well over a year ago for my own entertainment and was not written with this class in mind however some of the content may be useful to you. Some of it contains advertisements, I will work on removing these for you as time allows.  

EMG:

Circuit Design:

          -Arduino 

http://www.rugged-circuits.com/10-ways-to-destroy-an-arduino/

          - General Design http://www.analog.com/library/analogdialogue/archives/37-11/ecg.html

          -Ideal frequency cut off points http://www.bu.edu/nmrc/files/2010/06/103.pdf

Stepper motor:

http://letsmaketech.com/index.php?controller=post&action=view&id_post=8

Music:

         -Signal Generator http://letsmaketech.com/index.php?controller=post&action=view&id_post=7

         -Music Box http://letsmaketech.com/index.php?controller=post&action=view&id_post=2

         -Demo with EMG as a controller in Lab. I will work on making a post for it and uploading the code.  

Soldering

Wire wrap: http://letsmaketech.com/index.php?controller=post&action=view&id_post=14

Mechanical pencil trick: http://letsmaketech.com/index.php?controller=post&action=view&id_post=21

Code

Buffer: http://letsmaketech.com/index.php?controller=post&action=view&id_post=24

Robot

Neural Robot: http://letsmaketech.com/index.php?controller=post&action=view&id_post=22 

Simple Robot: http://letsmaketech.com/index.php?controller=post&action=view&id_post=6


How to Wire Wrap

Wire wrapping is a great way to get a semi-permanent circuit built. It is quick, easy, and oddly satisfying.

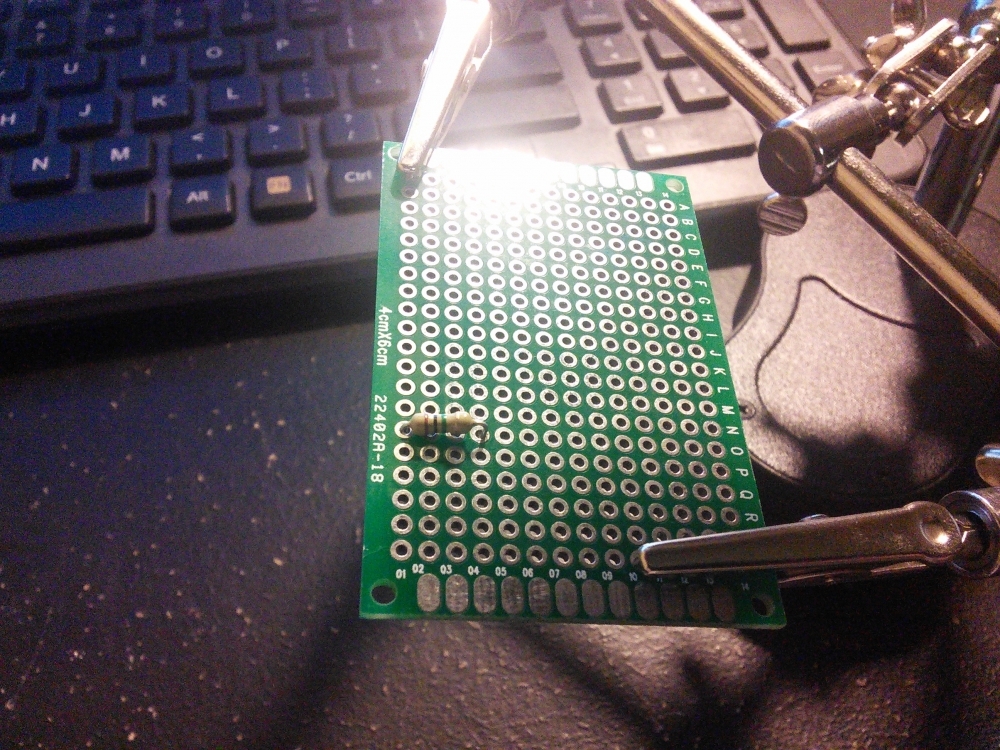
For this tutorial I will not be guiding you though an entire circuit. I will be connecting one end of a resistor using wire wrapping solely to demonstrate how to wire wrap.


First lets gather up all of our supplies.

BOM

-Board to solder components on

-Solder

-Soldering Iron

-Wire cutters

-Wire wrap

-Wire wrap tool

-Whatever components your circuit calls for

Optional BOM

-Solder wick or pump (if you mess up)

-Helping Hands Magnifier


Steps

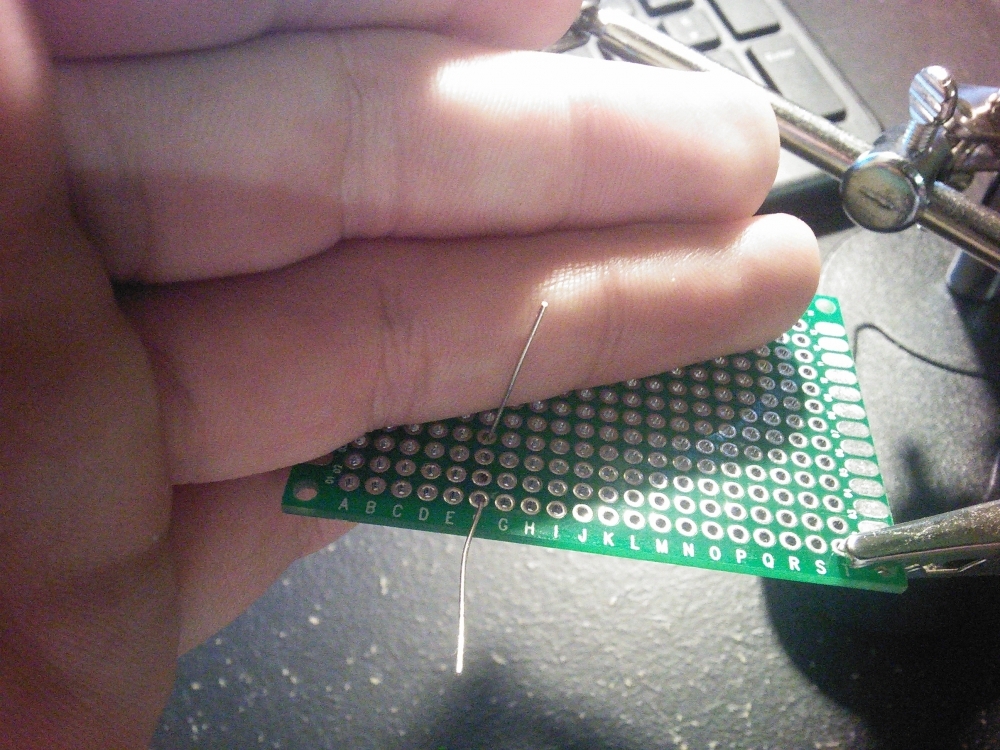
1. Place the component on the board.

undefined

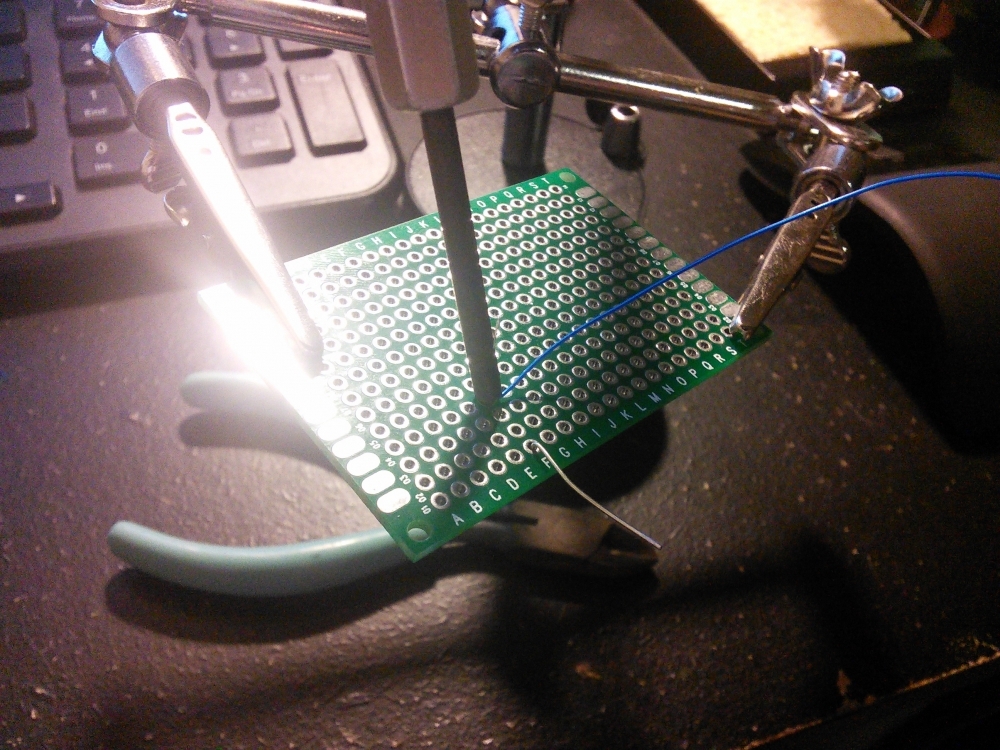
2. Bending one wire to hold the component in place can be helpful.

undefined

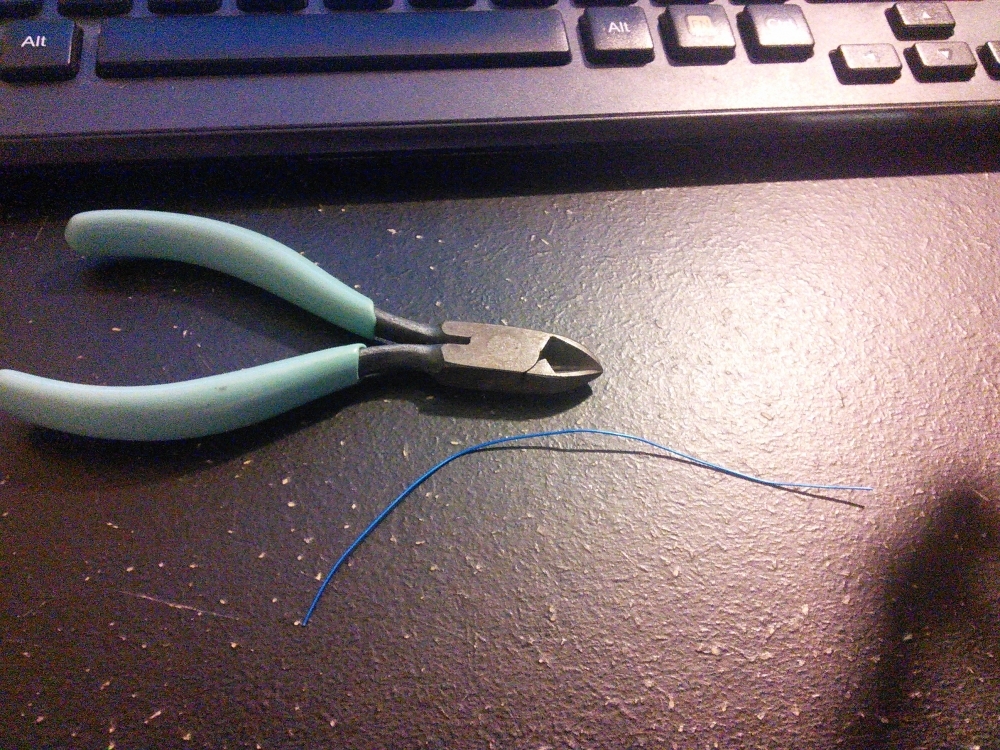
3. Cut a short length of wire from your roll (I cut mine a little long because I plan on reusing it). Measure to make sure yours isn't too long or short for the distance between your components. If you have a multiple colors try to use color code to make it easy to keep track of your connections later.

 undefined

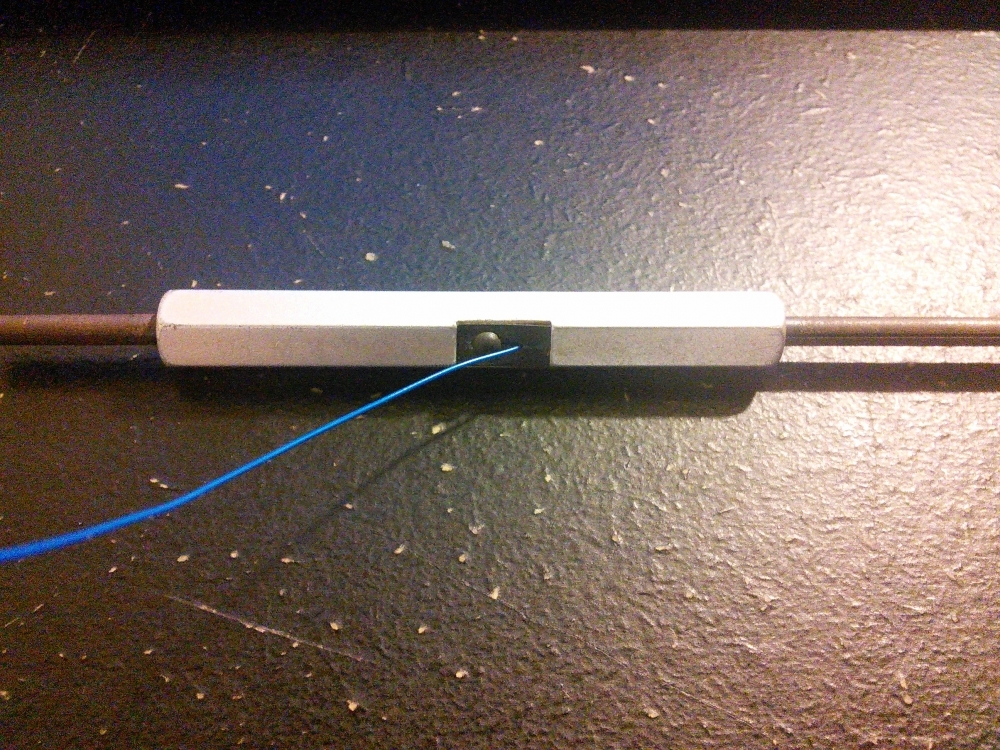
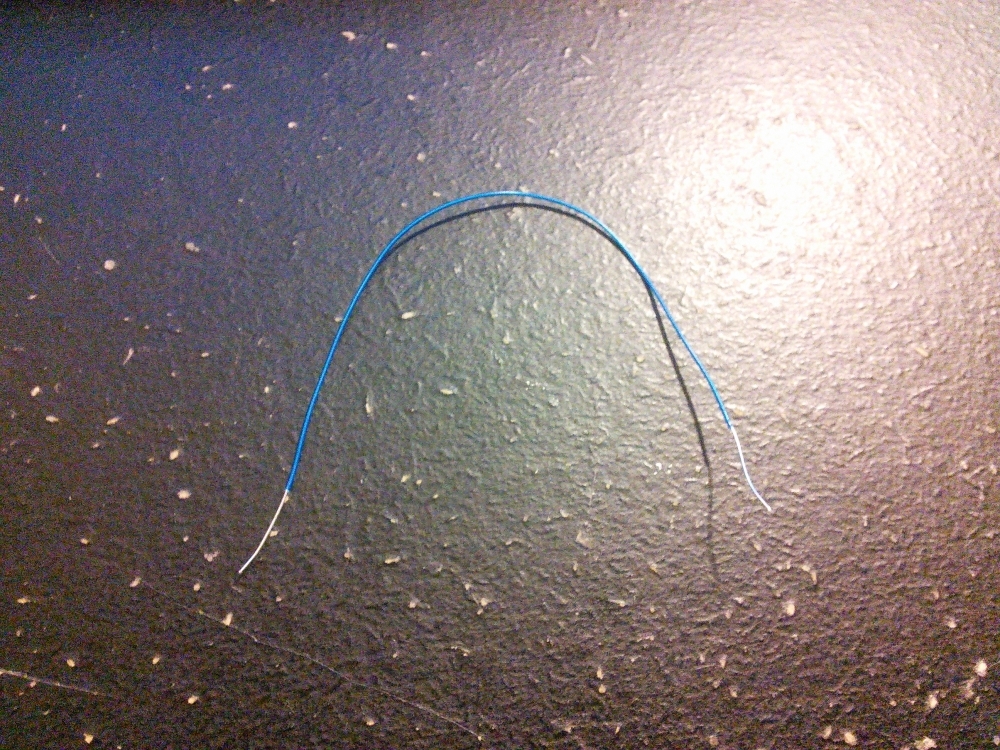
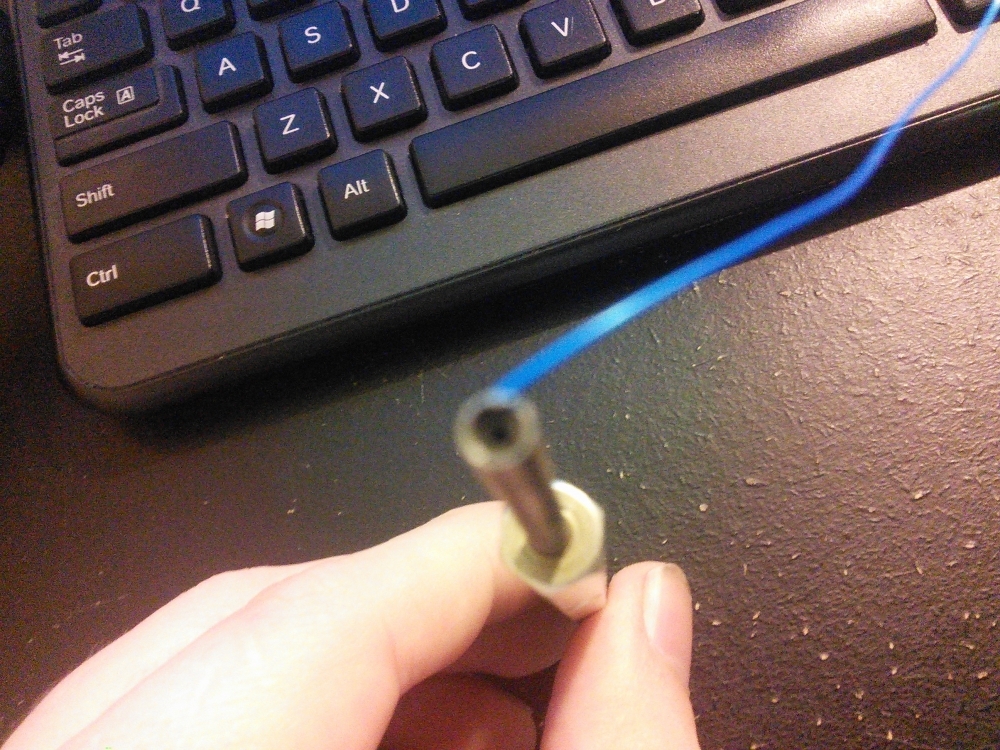
4. Strip the ends of the wire using the wire wrapping tool.

undefined

 undefined

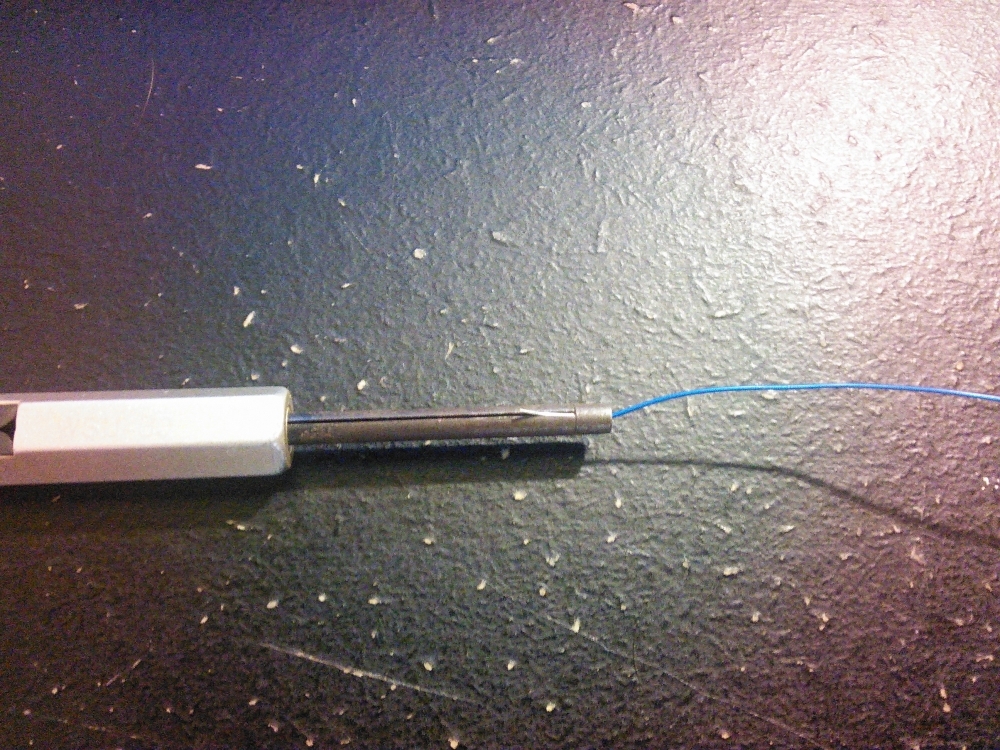
5. Thread the wire into the wire wrap tool. Note that there is a large hole and a small hole, you want the small hole. If you do it correctly you will see the wire through a grove. 

undefined

undefined

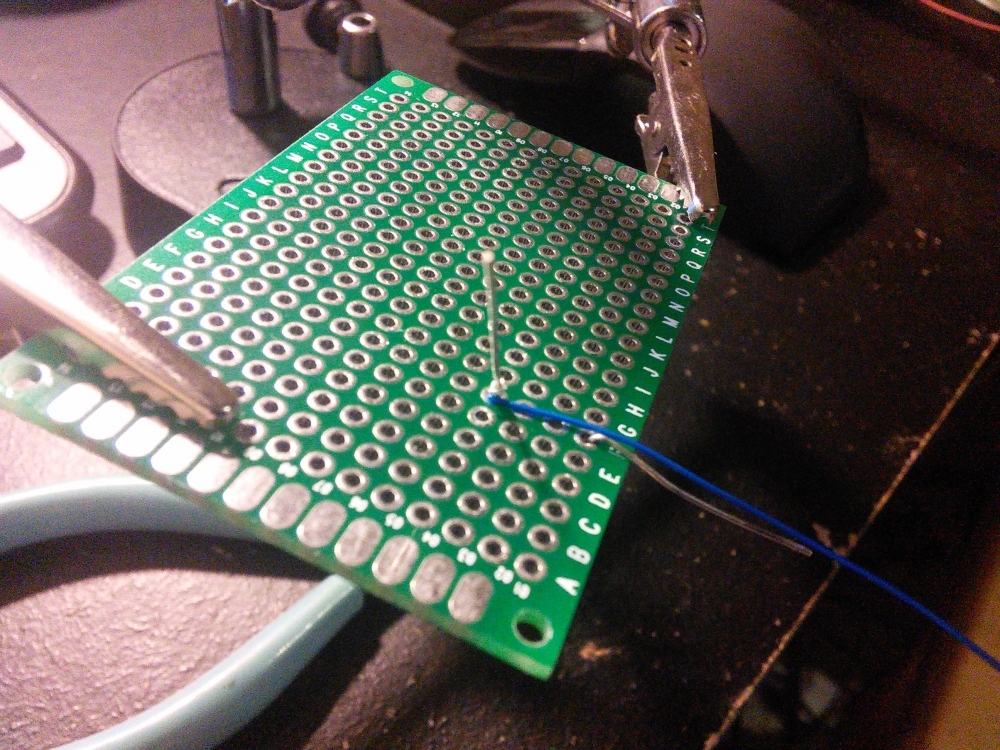
6. Place a wire from the component into the larger hole.

undefined

7. Hold the wire and twist the wire wrap tool.

undefined

8. You can leave it as it is for a temporary connection or you can solder it.

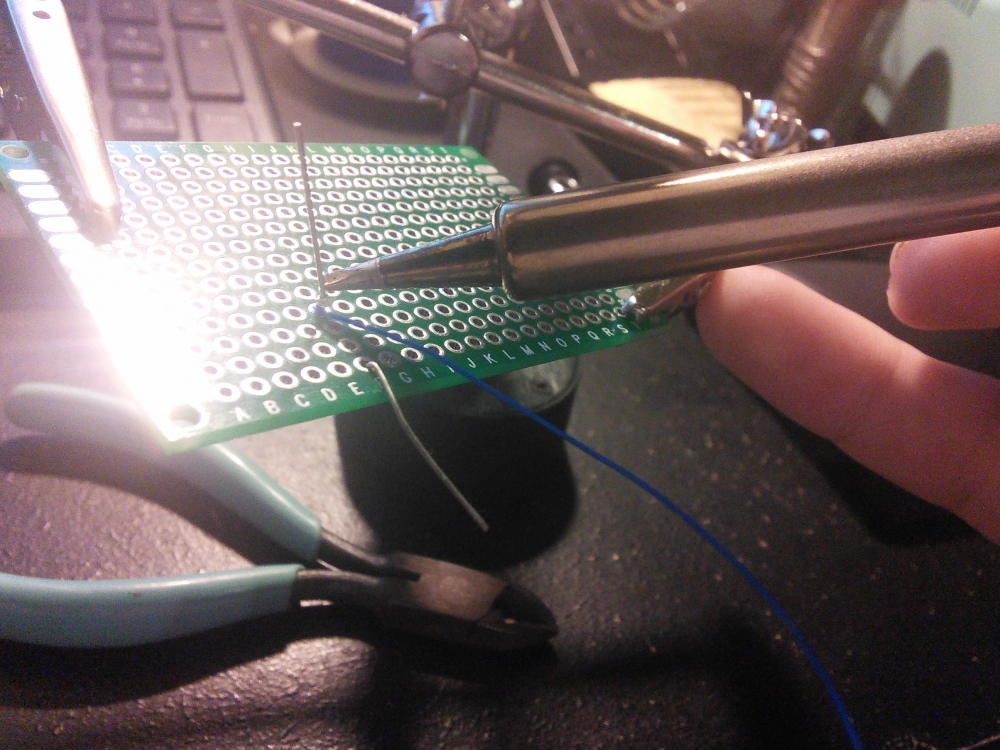
9. To solder, heat the component with your solder iron (My soldering iron isn't actually on this is for demonstration only).

undefined

10. Once the component is hot touch it with some solder, this should keep the component and wire firmly on the board. 

11. Repeat with the other components.

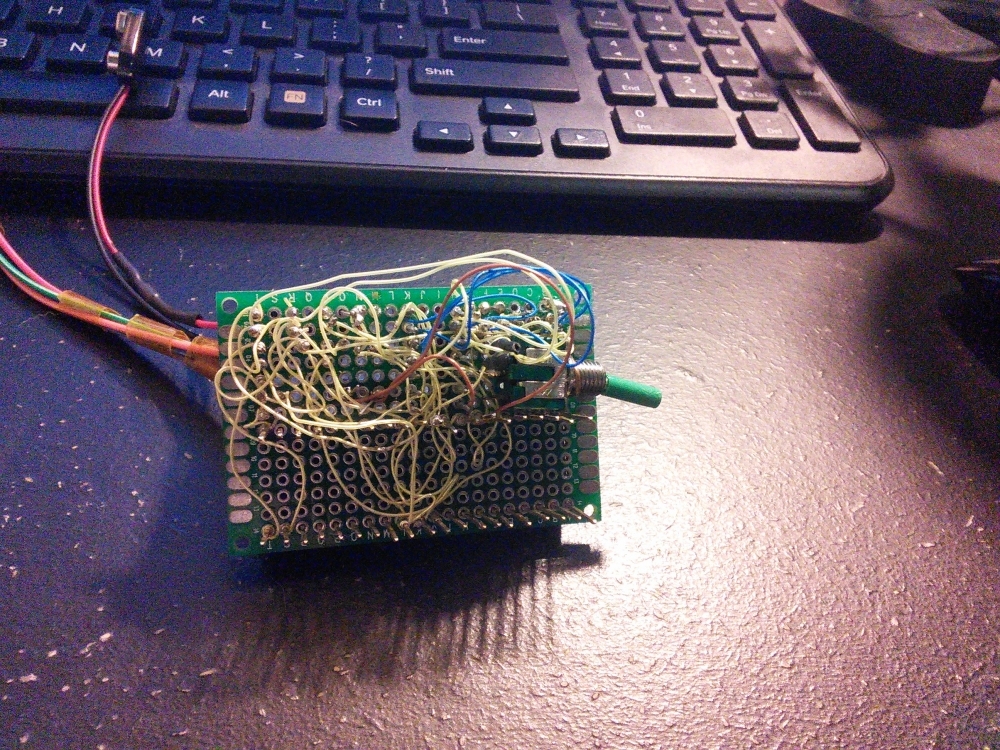
Here is an example of what your finished product might look like. This is a circuit that I made awhile back for the PIC18F4520. I used this to connect to an EMG circuit I made awhile back and a stepper motor. Check out the tutorial and paper.

undefined


Home ← Older posts